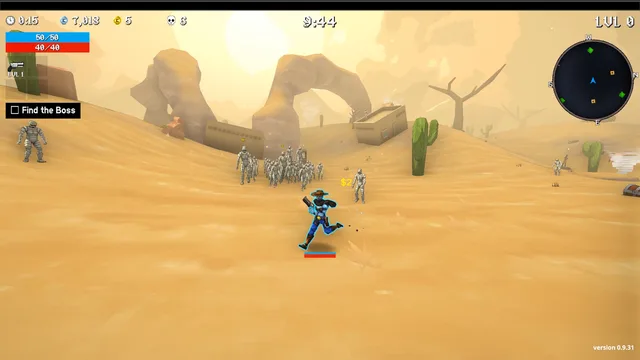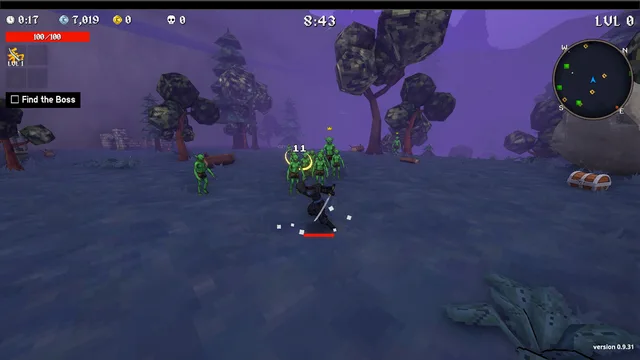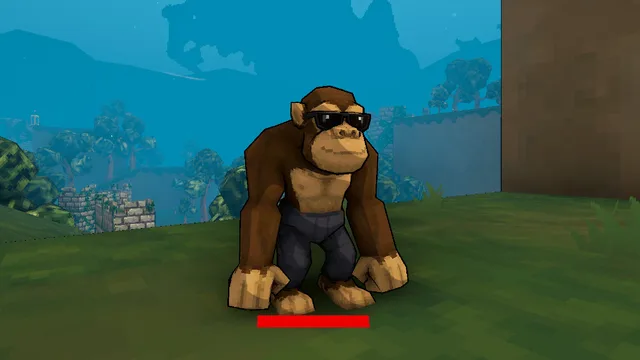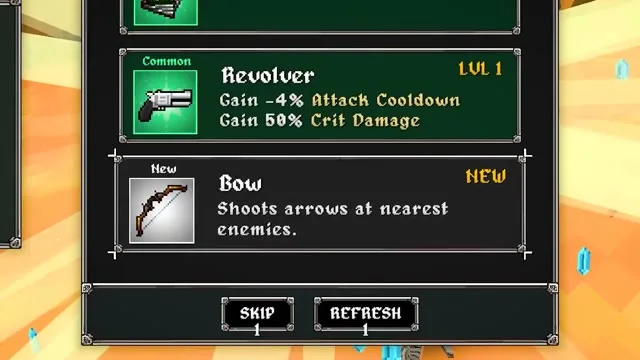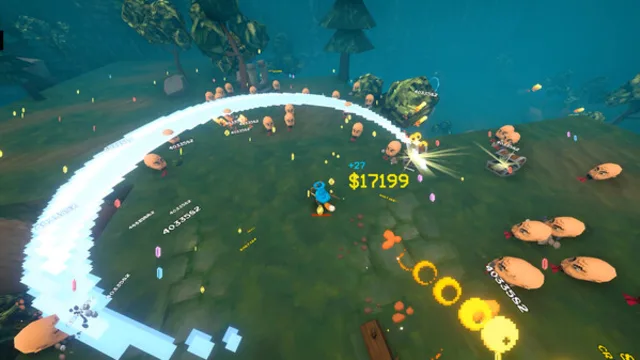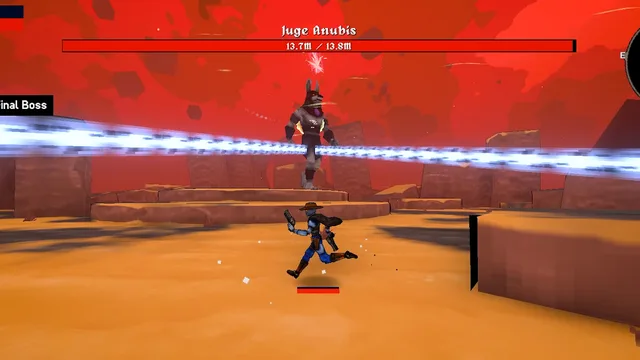
Megabonk 300K kills build guide: Fox route and reset rules
Use a Fox-centered route, check the weapons, tomes, item priorities, and set reset rules before greed breaks the run.
Read guideCurrent patch 1.0.69
Use Megabonk.cc as a quick search hub for the next decision in your run: choose a build, compare characters, prioritize unlocks, check the current patch, or fix a failed clear.
Search intent map
Most Megabonk searches are practical: what build should I run, which character fits this goal, what should I unlock next, and whether the advice still matches the current patch.
Patch-checked reference
Every published page carries its patch, review state, and source trail.
Start with the result you want, then make the run decisions that support it.
Use a Fox-centered route, check the weapons, tomes, item priorities, and set reset rules before greed breaks the run.
Read guideDefine the metric, verify the evidence, and use planned scaling and reset rules instead of copying the largest visible number.
Read guideChoose a controllable damage pattern, preserve movement space, and learn the boss before adding the risk used by leaderboard runs.
Read guideRead rankings and patch evidence without treating old data as current fact.
Use 1.0.69 for current official mechanics, keep 1.0.65 leaderboard builds historical, and read the H A T S fixes in their actual chronology.
Read guideUse an editorial first-clear tier for learning and a separate historical evidence tier for high-kill tests; neither is a universal character verdict.
Read guidePrioritize unlocks, survival checks, and repeatable fundamentals.
Improve the quality of future runs before chasing narrow challenges, and use the in-game Unlocks tab as the authority for exact requirements.
Read guideReach the swarm with a damage curve that still clears space, a movement lane you can preserve, and late choices that reinforce one working engine.
Read guideXP, Luck, and Difficulty can describe a strong snowball loop, but the right run may omit one part for safety, timing, or character-specific scaling.
Read guideHomepage field guide
Megabonk rewards players who make a clear plan before the first upgrade appears. A good Megabonk run is not only a list of weapons, tomes, and items. It is a chain of decisions: how much risk to take early, how much control to preserve, when to chase economy, and when to stop copying a build that no longer matches the screen. Megabonk.cc is built around that chain. The homepage gives you quick routes into Megabonk builds, Megabonk tier list notes, Megabonk unlock priorities, and Megabonk patch context, then the deeper pages explain why those choices fit different goals.
The fastest way to use this site is to name the problem that ended the last Megabonk run. If the run died before it formed a stable loop, start with the beginner build. If the run survived but lost kill pace, open the 300K kills guide. If the run produced a score that looks strong but is hard to compare, use the high-score guide. If the problem is character choice, the Megabonk tier list separates learning value from historical high-kill evidence. If the problem is progression, the unlock guide sorts broad power from narrow experiments.
This structure matters because Megabonk advice can sound universal when it is really goal-specific. A safe Megabonk setup for a first clear may be too slow for a kill push. A risky Megabonk setup for score may be miserable before you understand movement, spacing, and recovery. The homepage keeps those branches visible so you can choose a guide by intent instead of treating every Megabonk recommendation as a final answer.
A useful Megabonk build answers the pressure on your current run. Early pressure is usually about survival, movement, and enough area coverage to keep choices open. Mid-run pressure is about scaling without losing control. Late pressure is about whether the build can keep clearing space while bosses, swarms, and mistakes compress the map. Megabonk builds that look similar on paper can behave very differently once timing, upgrades, and player comfort enter the run.
On Megabonk.cc, build pages are written as run plans instead of rigid recipes. That means a Megabonk build explains its goal, the kind of risk it accepts, the evidence behind its shape, and the recovery signals that tell you when to adjust. If a weapon or tome is missing, the substitution notes help you protect the same job rather than panic pick a random option. A Megabonk build becomes stronger when you understand the job each piece performs.
The Megabonk tier list is most useful when it is read as a map of goals, not as a single permanent ranking. A character that teaches clean movement can be better for a new player than a character tied to an old high-kill sample. A character with strong control can save a sloppy Megabonk clear, while a character with higher upside may require a route, unlock state, and reset discipline that the player does not yet have. That is why the tier list labels what each recommendation is trying to solve.
Megabonk players often arrive with one question: who is best? The better question is best for what. Best for a first clear, best for 300K kills, best for a high score, and best for learning a new patch are different Megabonk questions. The homepage points to the tier list after the build routes because character choice should support the target. When you already know the target, the tier list becomes a sharper Megabonk tool.
Unlocks shape every Megabonk run because they change the choices you can see, the safety you can build around, and the pace at which a plan comes online. The unlock guide does not pretend that every player needs the same checklist. Instead, it prioritizes categories that make future Megabonk decisions easier: broader choice, more dependable economy, flexible damage, and better control. Those categories matter because they make more builds usable, not because they make a single setup magical.
If your Megabonk runs keep failing in the same place, unlock planning can be more useful than another leaderboard copy. A player who lacks control tools should not judge every build by late-game screenshots. A player who lacks economy should be careful about advice that assumes a faster snowball. A player who lacks recovery should avoid Megabonk routes that spend every choice on damage. The homepage keeps unlocks next to builds so progression and strategy stay connected.
Megabonk changes over time, and old data can remain useful only when it is labeled. This site separates official patch context, observed build data, community reports, and editorial recommendations. The current patch label helps you see which Megabonk pages are written against the latest site-wide reference, while the source notes show when a build sample comes from an older observed version. That distinction protects players from treating old Megabonk evidence as a fresh guarantee.
Patch context also changes how you read failures. If a Megabonk final swarm loss comes from damage, the fix is different from a loss caused by control, mobility, or late scaling. If a Megabonk leaderboard pattern comes from older data, the useful lesson may be the shape of the decision, not the exact item order. Megabonk.cc keeps patch notes, guide dates, and source trails visible so you can decide how much confidence to place in each recommendation.
The practical loop is simple: choose one Megabonk goal, follow the guide that matches it, watch which pressure breaks the plan, then return with a sharper question. If the run dies early, lower the greed and protect movement. If the run reaches the late game but cannot clear space, inspect scaling and area coverage. If the run survives but scores poorly, separate score routing from normal clearing. Megabonk improves faster when every failed run produces a diagnosis.
That is the purpose of this homepage. It is not trying to name one permanent best Megabonk answer. It is a navigation layer for players who want Megabonk builds, Megabonk tier list context, Megabonk unlock priorities, Megabonk patch notes, and Megabonk survival advice without losing the reason they searched. Start with the guide closest to your current problem, keep the patch boundary in view, and let the next Megabonk run test one decision at a time.